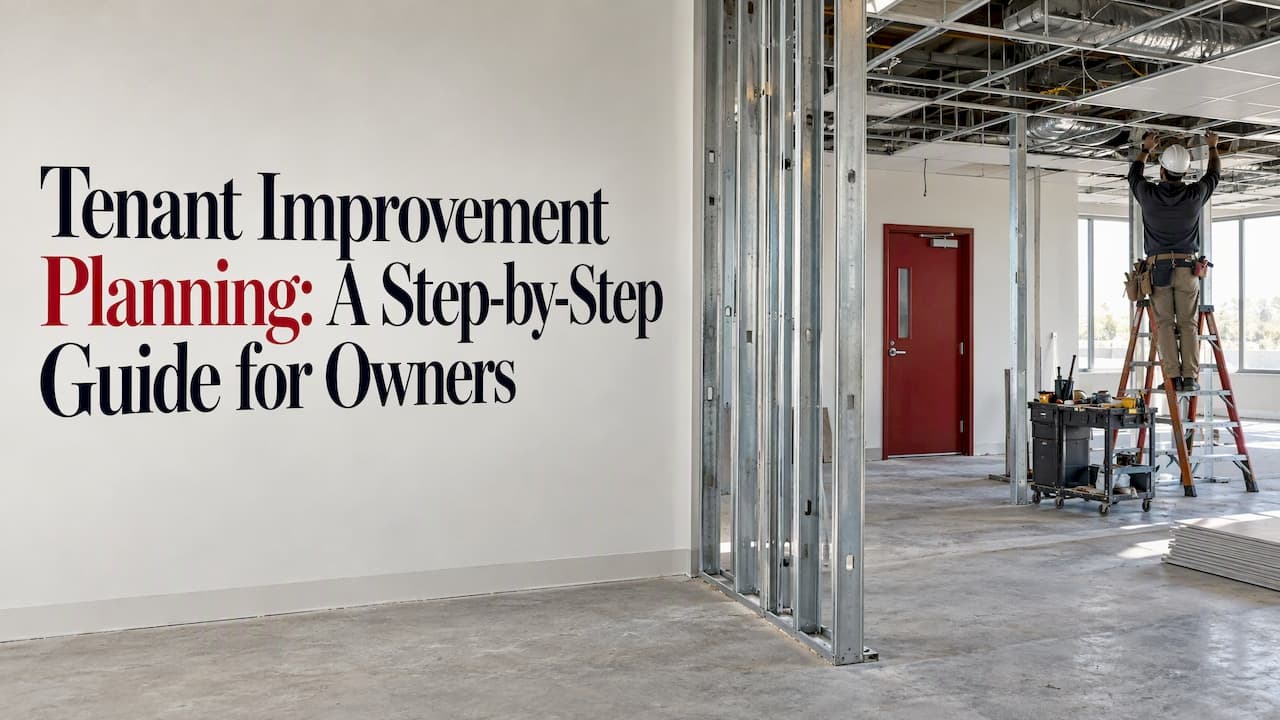
Good tenant improvement planning starts before you sign the lease, not after. The order that protects your budget is: negotiate the work letter, define your scope, check how the city classifies the project, price it against a realistic range, and lock a permit and construction schedule that fits your move-in date. This guide walks through each step for business owners, school districts and property managers in Bakersfield and California’s Central Valley.
TL;DR
-
Settle who pays for what in the lease work letter before you sign. Surprise out-of-pocket costs usually trace back to a vague delivery scope.
-
Budget with a range, not a single number. Published corporate build-out figures run from $50 to $150 per square foot, and first-generation space costs more.
-
In California, plan for accessibility upgrades and Title 24 energy requirements from day one. Both can change your scope and cost.
-
Permit review does not end at the first submittal. Revisions restart the clock, so a clean first package saves weeks.
-
If you stay open during construction, phasing and exit-path safety belong in the plan, not in a change order.
Table of Contents
What a tenant improvement actually covers
A tenant improvement (TI) is an addition or alteration to the interior of a leased commercial space, made to suit a specific business. City guidance describes it as covering things like office layouts, demising walls and equipment systems, and gives restaurant kitchens, new partitions and specialized storage as typical examples.
In practice, a TI can be light (paint, flooring, lighting) or heavy (new mechanical, electrical and plumbing, a reworked floor plan, a medical or food-service build). The planning effort scales with how much of the building’s systems and layout you touch. That is why the same word covers a two-week refresh and a six-month build-out.
Two terms come up constantly:
-
Shell or first-generation space: a never-occupied space delivered without finished interiors.
-
Second-generation space: a previously occupied space you alter. It often costs less to adapt, but hides surprises behind the walls.
Which one you lease changes your cost, your code obligations and your schedule, so name it in your plan from the start.
Step 1: Negotiate the work letter before you sign
The most expensive planning mistake happens at the lease table. Commercial real estate practitioners point out that tenants often sign without pinning down what the landlord delivers, turnkey or allowance-based, and then discover that basic infrastructure they assumed was covered is on them.
Before signing, get answers in writing to these questions:
-
Is the space delivered as-is, as a shell, or as a finished turnkey suite?
-
Who manages construction, you or the landlord, and who picks the contractor?
-
What is the allowance, and what exactly can it be spent on (hard costs, design fees, permits, furniture, cabling)?
-
When is the allowance paid: up front, on milestones, or after completion?
-
What happens to the schedule and rent commencement if the landlord delivers late?
-
Who owns the improvements and who restores the space at lease end?
If you cannot answer these, you cannot yet build a reliable budget.
Treat the allowance as a financing decision
A tenant improvement allowance looks like free money, but it is often not. Landlords commonly recover it through higher base rent amortized across the lease term. The same source suggests a break-even analysis: compare taking the full allowance with funding the work yourself or negotiating a lower rent.
A simple way to run it: ask the landlord for the rent with the full allowance and the rent with a reduced allowance. Multiply the monthly difference by the number of months in the term. If you would pay more in added rent than the allowance you receive, the allowance is costing you money. Include your cost of capital and how long you really intend to stay.
Step 2: Define the scope around how you operate
A scope that starts with finishes goes wrong. Start with operations:
-
How many people, and how will headcount change over the lease term?
-
Which functions need adjacency, privacy, public access or heavy equipment?
-
What utilities does the use require: electrical load, plumbing, ventilation, data?
-
Will the public or students be on site while work happens?
Write this as a short program document, then ask a design team to test it against the actual floor plate. This is where design-build pays off: when the people drawing the space also build it, they price what they draw while they draw it. Scope and budget are tested together rather than discovered in sequence.
For owners converting existing space, such as turning classrooms into offices, early scope work also reveals what can stay. Our Norris Middle School classroom-to-office conversion is an example of a conversion project in an existing school facility.
Step 3: Build a realistic budget
Published figures for corporate interior build-outs typically run from $50 to $150 per square foot, with $65 per square foot often cited for standard finishes. The same source notes that first-generation space can add roughly $10 per square foot, and that location, finish quality and specialized needs such as medical or restaurant requirements move the number a lot.

Treat that as a sanity check, not a quote. A 5,000 square foot office at the low end of that range and the same space at the high end differ by hundreds of thousands of dollars, which is why a proper estimate matters more than any benchmark.
A planning budget should include more than construction:
| Budget line | What to include |
|---|---|
| Design and engineering | Architectural, MEP and structural drawings, energy compliance documentation |
| Permits and fees | Building permit, separate mechanical, electrical and plumbing permits, plan review fees |
| Construction | Demolition, framing, finishes, systems, accessibility work |
| Owner-supplied items | Furniture, equipment, security, data and AV |
| Moving and downtime | Temporary space, overlapping rent, lost revenue during construction |
| Contingency | Reserve for concealed conditions and owner-requested changes |
The contingency line is where most owners shave too thin. In an older building, walls and ceilings hide conditions nobody can price until demolition. A feasibility study and a detailed estimate before design is final turn those unknowns into numbers. We offer feasibility, budgeting and estimating as part of our services for exactly this reason.
Step 4: Know your code triggers
California adds layers that out-of-state checklists skip. Three matter most for TI planning.
Accessibility
Any substantial alteration to a commercial space brings accessibility obligations. Under California’s accessibility provisions, as summarized in a city tenant improvement requirements sheet, a project above the valuation threshold must bring the primary path of travel (entrance, routes and restrooms) into compliance. Below the threshold, up to 20% of the adjusted construction cost must go to accessibility improvements.
This is a legal obligation rather than a design choice, and it can move your budget noticeably. One consultant’s explainer on the 20 percent path-of-travel rule also warns that the calculation has traps, such as counting path-of-travel costs in the wrong place. Have a qualified design professional or a Certified Access Specialist run the numbers early.
Energy code and “first-time buildout”
Whether your project counts as a first-time buildout or an alteration can change how strict the energy rules are. The California Energy Commission’s nonresidential compliance manual covers requirements such as demand-responsive controls for controlled receptacles under the 2022 Energy Code. Always confirm with your local building department how it classifies your project, because that classification sets how stringent the requirements are.
Planning review and change of use
If the work involves exterior changes or a change in use or occupancy, planning approval comes first. In Bakersfield, the city’s building permit application states that separate permits are required for each tenant space, and that applications for interior and exterior alterations require City Planning Review before acceptance. Requirements differ by city and county across the Central Valley, so confirm with the jurisdiction that governs your address.
Step 5: Plan the permit timeline honestly
One California city’s permit guidance cites 10 business days for first plan review, but that is only the first cycle. Corrections extend it, and each resubmittal can take time. Timelines in Bakersfield and other Central Valley jurisdictions will differ, so ask the local building division for current review times instead of borrowing someone else’s.
What shortens the process is a complete, code-checked first submittal: licensed professionals preparing the drawings, digital submittal requirements met, and energy compliance documents included. A commercial TI typically needs a building permit and usually separate mechanical, electrical and plumbing permits. Larger jobs may also need demolition and fire protection permits, per the Milpitas checklist.
A planning timeline to work backward from
Start from your required move-in or lease-commencement date and work backward:
-
Construction duration: get a schedule from your builder, not a guess.
-
Material lead times: long-lead items such as switchgear, rooftop units, glazing and specialty equipment should be ordered when the design is firm.
-
Permit review: allow for at least one round of corrections.
-
Design and engineering: allow time for owner review and revisions.
-
Lease and work letter: the earliest step and the one that sets the rest.
If the numbers do not fit, you have two honest options: negotiate rent abatement or a later commencement date in the lease, or reduce the scope. Discovering this in month three of a lease is far more expensive.
Step 6: Plan for staying open
Many owners cannot close. Schools, clinics, offices, retail and airports operate while construction happens around them. That changes the plan in four ways.
Phasing. Break the work into zones so one area is built while the rest keeps working. Noisy, dusty or utility-shutdown tasks go to nights, weekends or school breaks, and each shutdown is scheduled with the people it affects.

Egress and safety. California’s safety orders state that no building under construction may be occupied until required exits are complete and ready for use. Exit paths must remain lighted and clearly marked at all times, even during active work. Your phasing plan must show how every phase keeps compliant exits.
Contractor accountability. On multi-employer sites, the general contractor often carries non-delegable responsibility for safety across trades, which makes documented inspections and clear safety programs essential. Ask any contractor how they run site safety and who answers for it. Ours is described on our safety page.
Communication. Name one point of contact on each side, agree on a weekly look-ahead of noisy or disruptive work, and give occupants notice before it happens.
Perspective: what we see go wrong, and what fixes it
We are a design-build contractor in Bakersfield, and our work centers on commercial and industrial spaces that keep running during construction. From that vantage point, the problems we see most often are not about materials. They are about handoffs.
When design, engineering and construction sit with separate parties, nobody owns the gap between the drawing and the budget. The owner finds the gap when bids come in over, and the fix is a redesign that costs time. Putting those disciplines under one accountable team closes that gap early, because the people estimating the work are in the room when the layout is still flexible.
The second pattern is subcontractor sequencing. When core trades are self-performed, we control when the crew shows up and what they do next, so schedule slips from waiting on others are fewer. That matters most in occupied buildings, where a missed window can mean waiting for the next school break.
Our advice to any owner: bring your builder in before the lease is final if you can. A contractor who has looked at the space can tell you what the allowance realistically buys, what the building is likely to hide, and whether your move-in date is achievable.
— Marcelo
Working with us on your tenant improvement
If you are planning a TI in Bakersfield or the Central Valley, our tenant improvements team handles the project from feasibility and budgeting through design, permitting support and construction under one contract. Larger changes to an existing space fall under our commercial remodels, and public agencies can see how we approach public works.
For a look at work in a live institutional setting, see the Larry E. Reider Education Center 4th-floor tenant improvement, or browse all our projects. When you have a space and a rough date, contact us through our site and we will talk through scope, budget and schedule.
A pre-construction checklist
Before you authorize construction, confirm each of these:
-
Work letter signed, with delivery condition and allowance terms in writing.
-
Break-even analysis completed on the allowance versus rent.
-
Scope documented against how you operate, with a headcount plan.
-
Estimate built from drawings, with a contingency line you understand.
-
Local building department has confirmed how it classifies the project.
-
Accessibility path-of-travel obligations calculated.
-
Energy compliance documents included in the first submittal.
-
Planning review completed if there is exterior work or a change in use.
-
Long-lead items identified and a procurement date set.
-
Phasing, egress and occupant communication plan written down.
-
Move-in date tested against the schedule, with a lease remedy if it slips.
FAQ
What is a TI build-out?
A TI build-out is the construction work that turns a shell or existing commercial space into one that fits a specific business. It can include partitions, ceilings, flooring, lighting, and electrical, plumbing and HVAC work. The term is often used for the full construction phase of a tenant improvement project.
Who pays for tenant improvements?
It depends on the lease. Some landlords deliver a turnkey space, others offer a per-square-foot allowance, and some deliver the space as-is. Allowances are often recovered through rent over the lease term, so compare the full cost of each option before accepting one.
How long does tenant improvement planning take?
It depends on scope, design time, permit review and lead times for materials. A first plan review may take about 10 business days in some California cities, but corrections extend that. Ask your local building department for current review times and work backward from your move-in date.
Do I need to make accessibility upgrades in a tenant improvement?
In California, substantial alterations to commercial space trigger accessibility requirements, up to the path of travel to the altered area. Depending on project value, that means either full path-of-travel compliance or spending up to 20% of the adjusted construction cost on improvements. A design professional can tell you which applies to your project.
Can a business stay open during a tenant improvement?
Often yes, with phased work, protected exit paths and scheduled disruptive tasks. Exits must stay usable and marked throughout. The key is building the phasing plan before construction starts, not improvising it on site.
Sources
-
Key Considerations in Negotiating Commercial Lease Work Letters, Practical Law
-
Tenant Improvement (Commercial) plan requirements, City of Milpitas
-
2022 Nonresidential and Multifamily Compliance Manual, California Energy Commission
-
Title 8, Section 3215, California Department of Industrial Relations
-
Decision After Reconsideration, S.C. Anderson, Inc., Cal/OSHA Appeals Board